Why Good Product Photos Matter & How to Take Them
January 2, 2018 - Best Practices・How To・Marketing
First impressions make a big difference: It takes just 50 milliseconds for a visitor to form an opinion about your website and decide whether to leave or stay! Since we humans process images much faster than text, product images have the power to make or break a sale. The quality of these images may also influence how many visitors come to your website in the first place if they’re used for marketing on image-heavy platforms like Pinterest or Facebook.
Product images in your online store have the power to make or break a sale. Click To Tweet
Product Photos 101
Product photos are designed to help potential customers visualize what they’re getting. After all, online shoppers can’t physically touch a product before buying it. High-resolution photos that showcase a product from multiple angles help buyers visually identify features, while action shots show how the product is used in the wild. For example, a person may want to see what the fabric of a dress looks like up close, but also see how it looks being worn by someone.
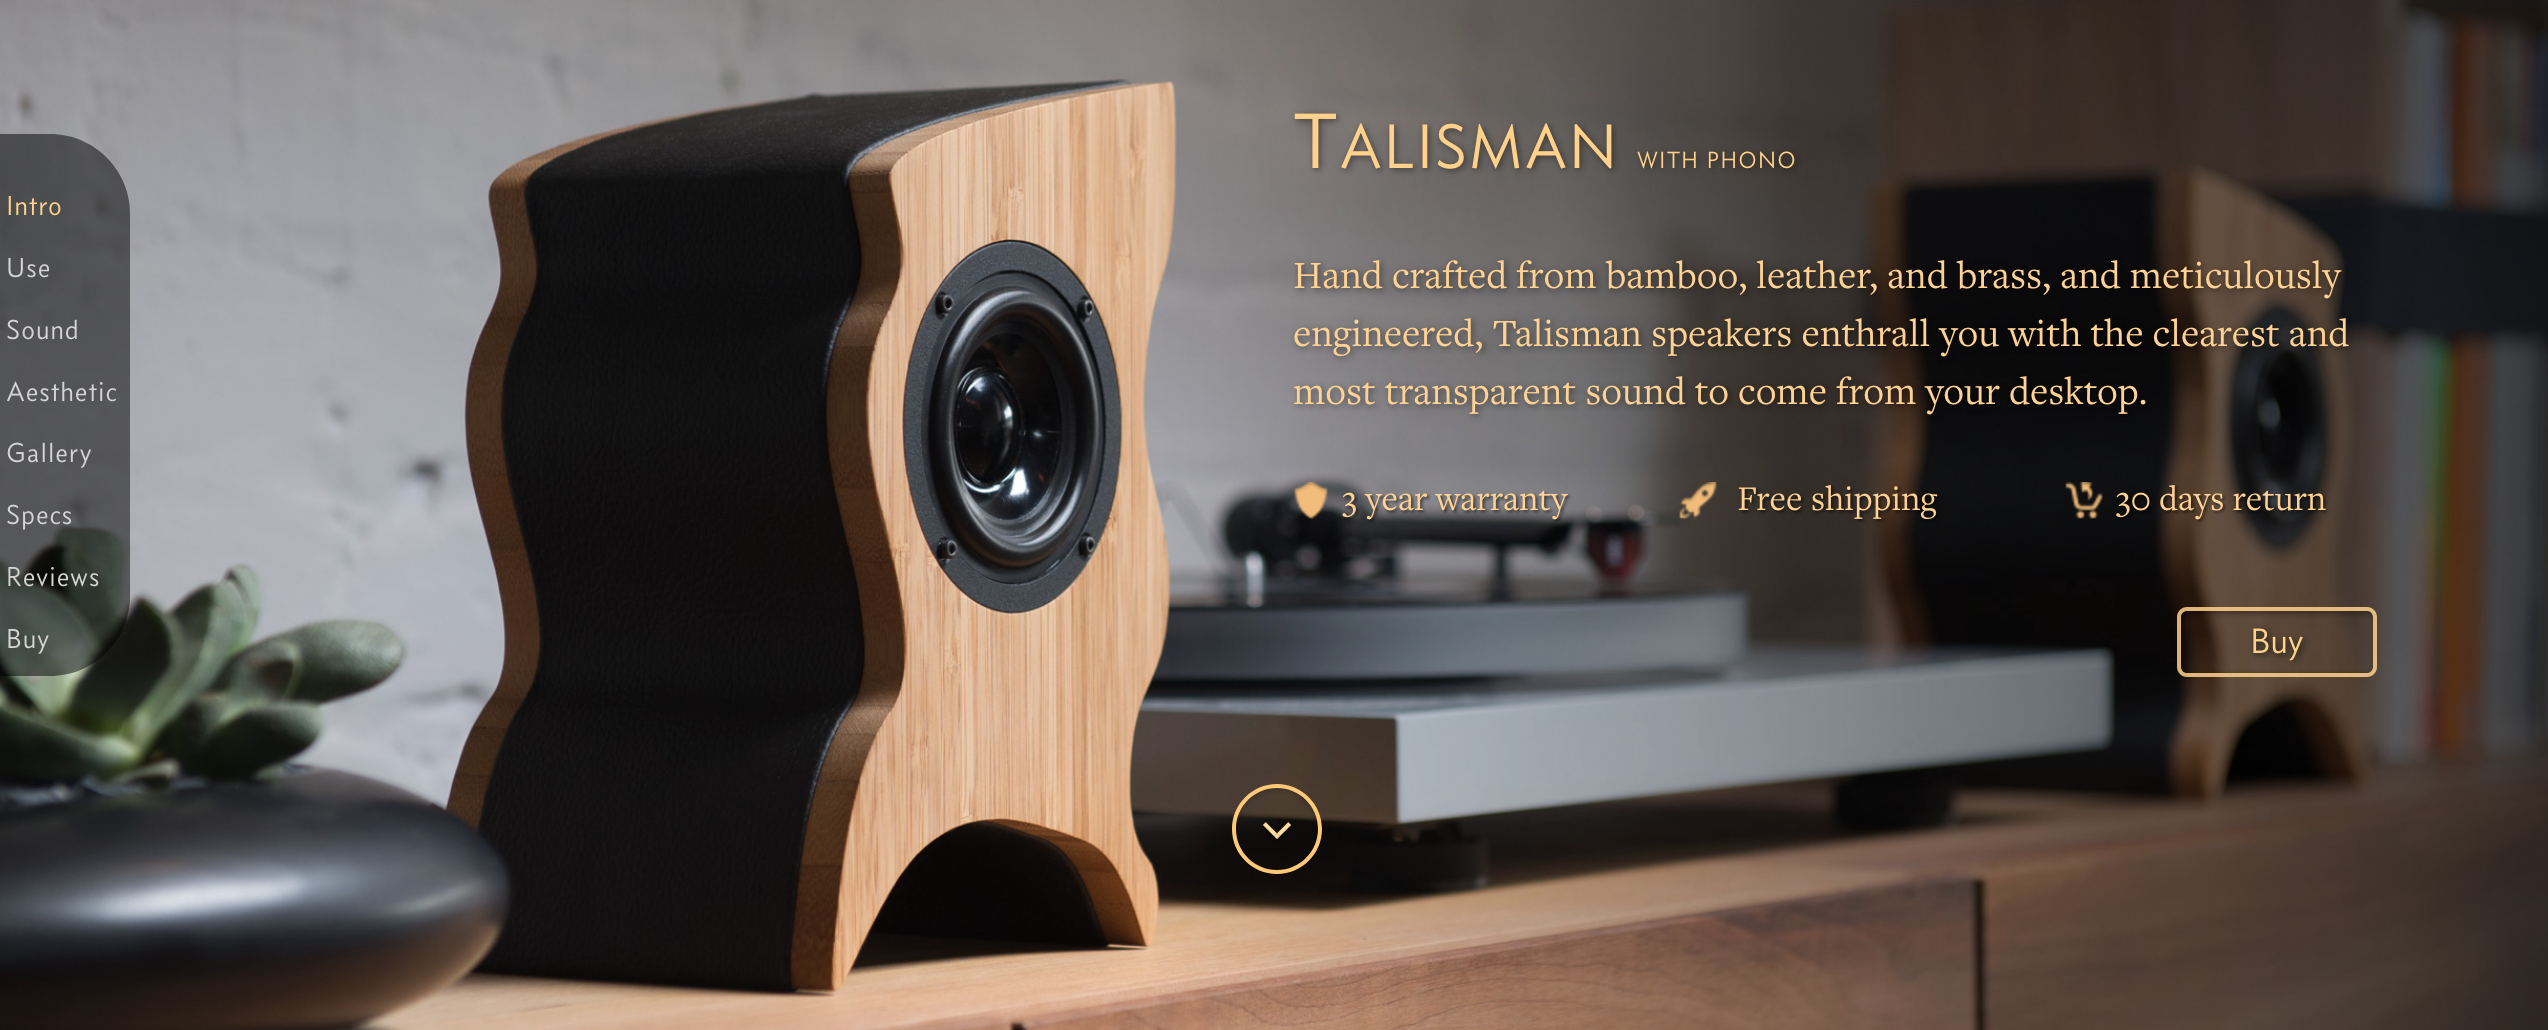
Let’s take a look at an example of good product photography and how one of our users integrated it into their store. Serene/Audio’s product page features a full-screen photo that showcases the product in the wild, while providing many more images of the product from multiple angles and locations. The page does an exceptional job at helping customers visualize where they might put the speaker in their own home.
There are three different ways to find product photos:
Manufacturer Supplied – Many manufacturers provide professional product photos for ecommerce retailers to use as they see fit. If you’re selling third-party products, these may be a good option for getting started, since they tend to look professional.
Hiring a Photographer – Professional product photographers charge between $10 and $25 per photo for products and $150 to $55 per photo for lifestyle or action shots. You may also have to pay models and incur other costs tied to photo shoots.
Do It Yourself – The cheapest long-term option is to take your own product photos. While there is a modest investment at the onset, you can take photos when you need them and pay for little more than your time investment.
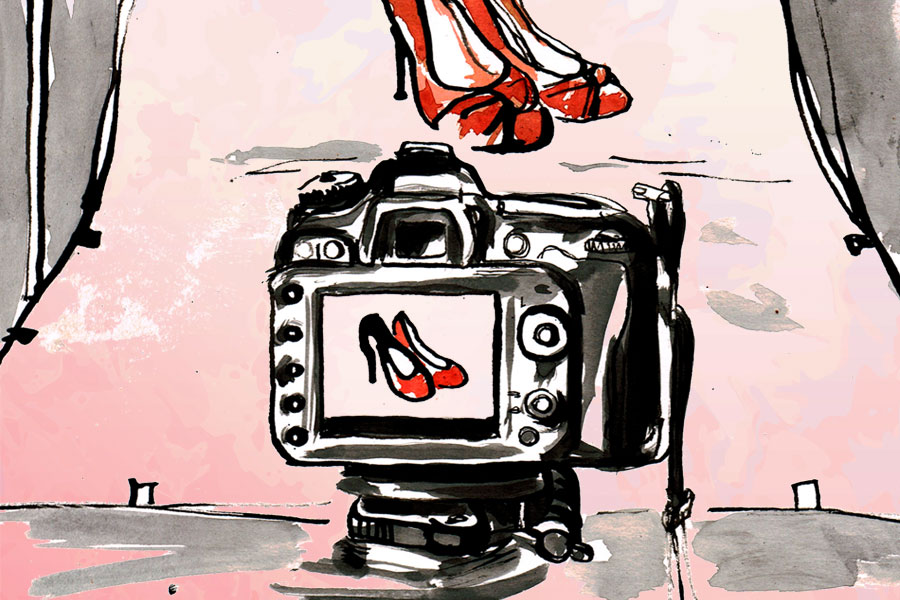
How to Take Good Photos
Photography is a lot like painting on a canvas – it’s incredibly easy to get started but a little knowledge goes a long way. Once you’ve mastered the basics, it also helps to have access to the right tools to help improve your overall results.
Knowledge
In photography, knowledge trumps equipment every time. It pays to understand how to compose product images and learn about important camera settings. For example, macro lenses are necessary for photographing small things (like jewelry) and tilt+shift lenses may be ideal for products that have sharp lines (like boxes). Aperture settings – or F-stops – are similarly important to understand to optimizing lighting in a photograph.
The easiest way to learn these things is by taking a specialized course online or in-person. For example, Lynda.com offers a Learn Product Photography course that covers all of these topics and more. Those that are interested in advancing even further may want to read books like The Art of Photography to get a more in-depth understanding of the theory, which can be especially helpful when taking action shots rather than just product photos.
Equipment
You don’t necessarily need high-end equipment to take great product photos, but fine-tuning camera settings and lighting can make a big difference. A DSLR camera will let you fine-tune how a photo looks, but an Apple iPhone has the raw megapixels needed. Similarly, the sun is a great source of lighting for photographs, but artificial lighting and diffusers let you take consistent photographs any time of the day without worrying about the weather.
There are several photography kits that you can purchase to get started. For example, the AmazonBasics Portable Photo Studio provides a white background, built-in LED lights, and a three-door system for maximizing product angles for just $135.00 (at the time of writing). More advanced systems can cost upwards of $1,000.00 for stores that are looking to photograph larger items or have more control over shadows and accent lighting.
Post Production
You can rarely snap a picture-perfect photo that you can simply upload to your store. Post production has become an increasingly important part of the photography process. When taking product photos, this means removing backgrounds and putting the product on white while improving color balance, lighting, and potentially adding or adjusting things like shadows. These small changes can make a big difference in how the product looks on a website.
You may want to consider software like Adobe Photoshop, Adobe Lightroom, Phase One Capture One Pro 10, Serif Affinity Photo, or other post-production software to make the process a lot easier. While there is a learning curve to these software solutions, you can often create reusable filters to process future images after building the right look the first time. You can also find third-party plugins in many cases that can simplify post production.
[content_upgrade cu_id=”606″]Download Now: 4 Apps That Make Photo Editing a Breeze[content_upgrade_button]Click Here[/content_upgrade_button][/content_upgrade]
Integrating Photos into Your Store
The final step is incorporating the product photos into your existing online store. While it’s tempting to just upload the photos to a shopping cart or CMS, you want to make sure that you’re not wasting your hard-earned dollars and valuable time by avoiding the photo-related features that customers are looking for when shopping online.
According to the Internet Retail Conference Exhibition 2012 Report, 66% of online shoppers want to see alternative views of a product and 61% want to be able to zoom in on a product. Visual Website Optimizer also ran an A/B test and found that larger product images tended to increase sales by about 9% among online retailers. These are shopping cart or CMS features that may be helpful to add before uploading any new product photos.
This means that your shopping cart or CMS should support an image carousel to showcase multiple images along with image zooming to maximize your conversion rates. You should consider uploading product photos that are at least 1200 pixels to 2000 pixels wide on the long side and then implement a shopping cart or CMS solution that automatically generates thumbnails to keep loading times down while enabling customers to zoom as needed.
The Bottom Line
Product photos are an essential piece of ecommerce since customers cannot physically touch or try on items they’re buying. While you can outsource photography, it often pays to invest in the equipment, software, and knowledge to do it yourself over the long run. Properly snapping, producing, and integrating these product photos can dramatically improve the customer experience at your store and ultimately improve conversion rates.